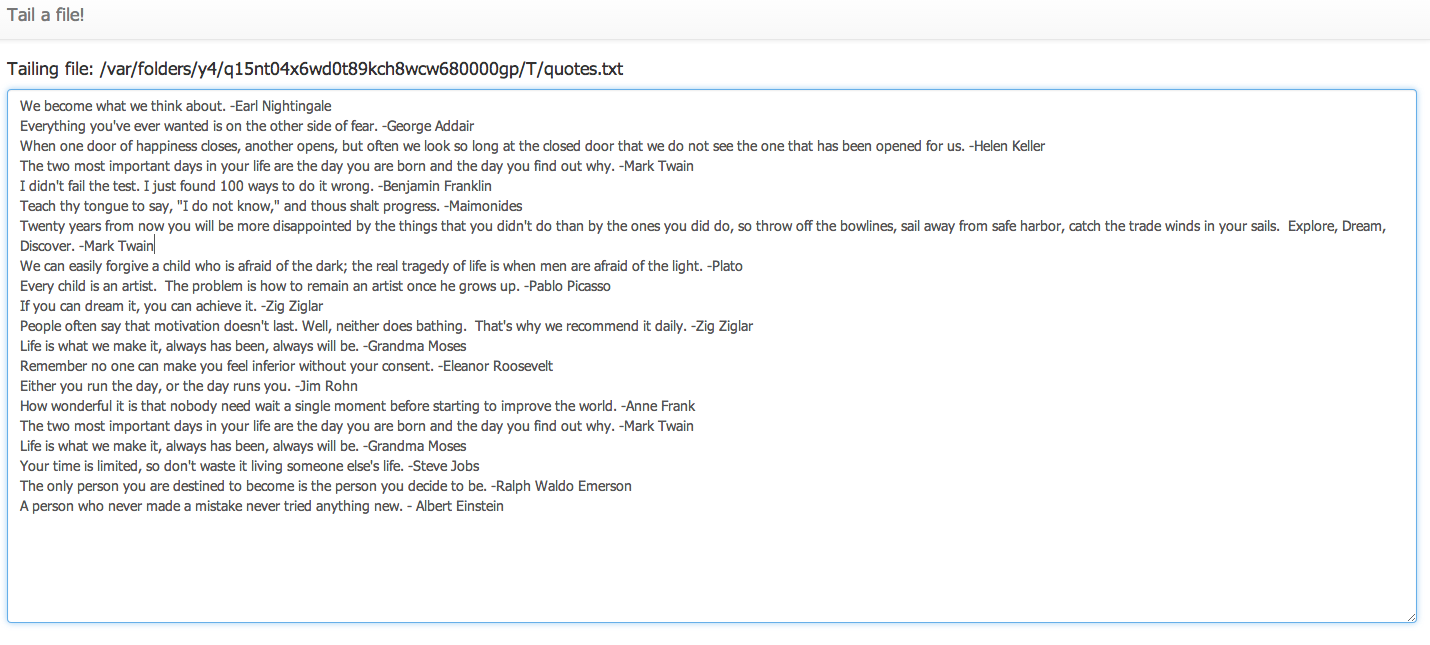
The following is the final view of the web-application:

There are a few parts to this application:
Generating a File to tail:
I chose to use a set of 100 random quotes as a source of the file content, every few seconds the application generates a quote and writes this quote to the temporary file. Spring Integration is used for wiring this flow for writing the contents to the file:
<int:channel id="toFileChannel"/>

<int:inbound-channel-adapter ref="randomQuoteGenerator" method="generateQuote" channel="toFileChannel">
	<int:poller fixed-delay="2000"/>
</int:inbound-channel-adapter>

<int:chain input-channel="toFileChannel">
	<int:header-enricher>
		<int:header name="file_name" value="quotes.txt"/>
	</int:header-enricher>
	<int-file:outbound-channel-adapter directory="#{systemProperties['java.io.tmpdir']}" mode="APPEND" />
</int:chain>
Just a quick note, Spring Integration flows can now also be written using a Java Based DSL, and this flow using Java is available here
Tailing the file and sending the content to a broker
The actual tailing of the file itself can be accomplished by OS specific tail command or by using a library like Apache Commons IO. Again in my case I decided to use Spring Integration which provides Inbound channel adapters to tail a file purely using configuration, this flow looks like this:
<int:channel id="toTopicChannel"/>

<int-file:tail-inbound-channel-adapter id="fileInboundChannelAdapter"
				channel="toTopicChannel"
				file="#{systemProperties['java.io.tmpdir']}/quotes.txt"
				delay="2000"
				file-delay="10000"/>

<int:outbound-channel-adapter ref="fileContentRecordingService" method="sendLinesToTopic" channel="toTopicChannel"/>
and its working Java equivalentThere is a reference to a "fileContentRecordingService" above, this is the component which will direct the lines of the file to a place where the Websocket client will subscribe to.
Websocket server configuration
Spring Websocket support makes it super simple to write a Websocket based application, in this instance the entire working configuration is the following:@Configuration
@EnableWebSocketMessageBroker
public class WebSocketDefaultConfig extends AbstractWebSocketMessageBrokerConfigurer {
@Override
public void configureMessageBroker(MessageBrokerRegistry config) {
//config.enableStompBrokerRelay("/topic/", "/queue/");
config.enableSimpleBroker("/topic/", "/queue/");
config.setApplicationDestinationPrefixes("/app");
}
@Override
public void registerStompEndpoints(StompEndpointRegistry registry) {
registry.addEndpoint("/tailfilesep").withSockJS();
}
}
This may seem a little over the top, but what these few lines of configuration does is very powerful and the configuration can be better understood by going through the reference here. In brief, it sets up a websocket endpoint at '/tailfileep' uri, this endpoint is enhanced with SockJS support, Stomp is used as a sub-protocol, endpoints `/topic` and `/queue` is configured to a real broker like RabbitMQ or ActiveMQ but in this specific to an in-memory one.
Going back to the "fileContentRecordingService" once more, this component essentially takes the line of the file and sends it this in-memory broker, SimpMessagingTemplate facilitates this wiring:
public class FileContentRecordingService {
	@Autowired
	private SimpMessagingTemplate simpMessagingTemplate;

	public void sendLinesToTopic(String line) {
		this.simpMessagingTemplate.convertAndSend("/topic/tailfiles", line);
	}
}
Websocket UI configuration
The UI is angularjs based, the client controller is set up this way and internally uses the javascript libraries for sockjs and stomp support:var tailFilesApp = angular.module("tailFilesApp",[]);
tailFilesApp.controller("TailFilesCtrl", function ($scope) {
function init() {
$scope.buffer = new CircularBuffer(20);
}
$scope.initSockets = function() {
$scope.socket={};
$scope.socket.client = new SockJS("/tailfilesep);
$scope.socket.stomp = Stomp.over($scope.socket.client);
$scope.socket.stomp.connect({}, function() {
$scope.socket.stomp.subscribe("/topic/tailfiles", $scope.notify);
});
$scope.socket.client.onclose = $scope.reconnect;
};
$scope.notify = function(message) {
$scope.$apply(function() {
$scope.buffer.add(angular.fromJson(message.body));
});
};
$scope.reconnect = function() {
setTimeout($scope.initSockets, 10000);
};
init();
$scope.initSockets();
});
The meat of this code is the "notify" function which the callback acting on the messages from the server, in this instance the new lines coming into the file and showing it in a textarea.
This wraps up the entire application to tail a file. A complete working sample without any external dependencies is available at this github location, instructions to start it up is also available at that location.